

I received my $HNT Helium Hotspot so here is a look at the device itself and its setup. I paid $495 for the device.
You can find out more about Helium here. https://www.helium.com/
If you are interested in purchasing your own Hotspot, you can use this referral link to save $50. http://fbuy.me/v/chefjak
Presentation:
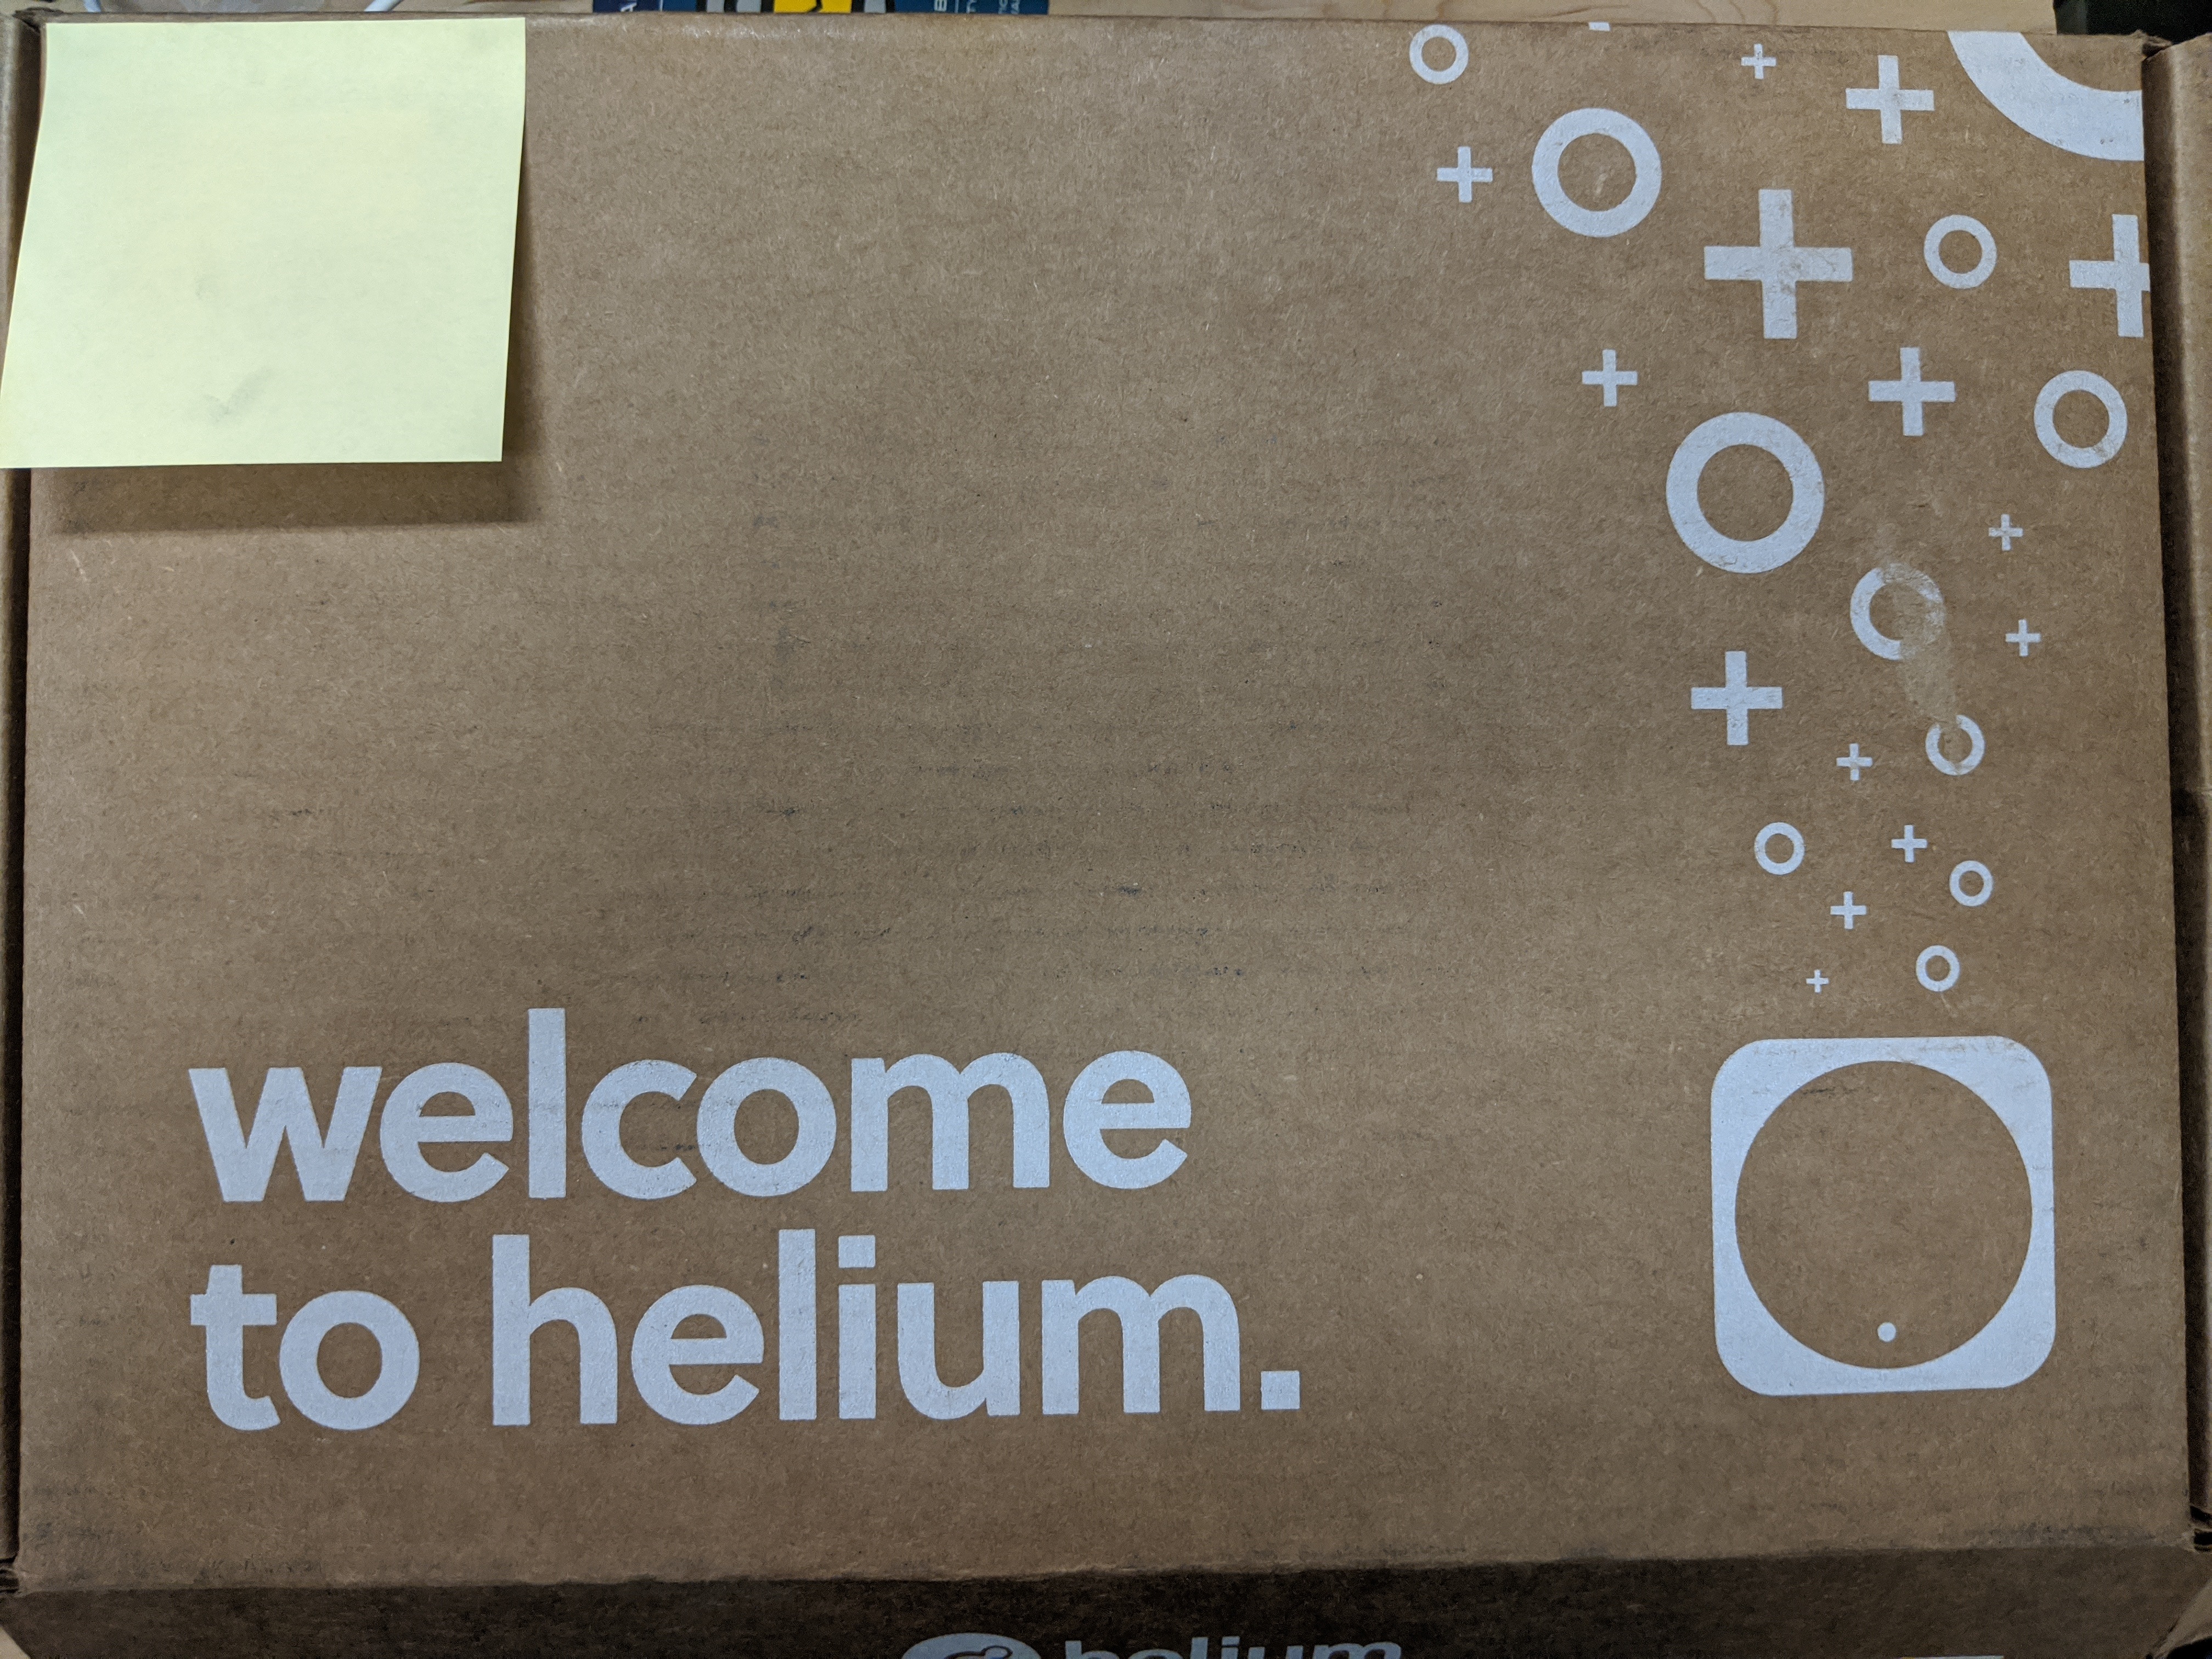
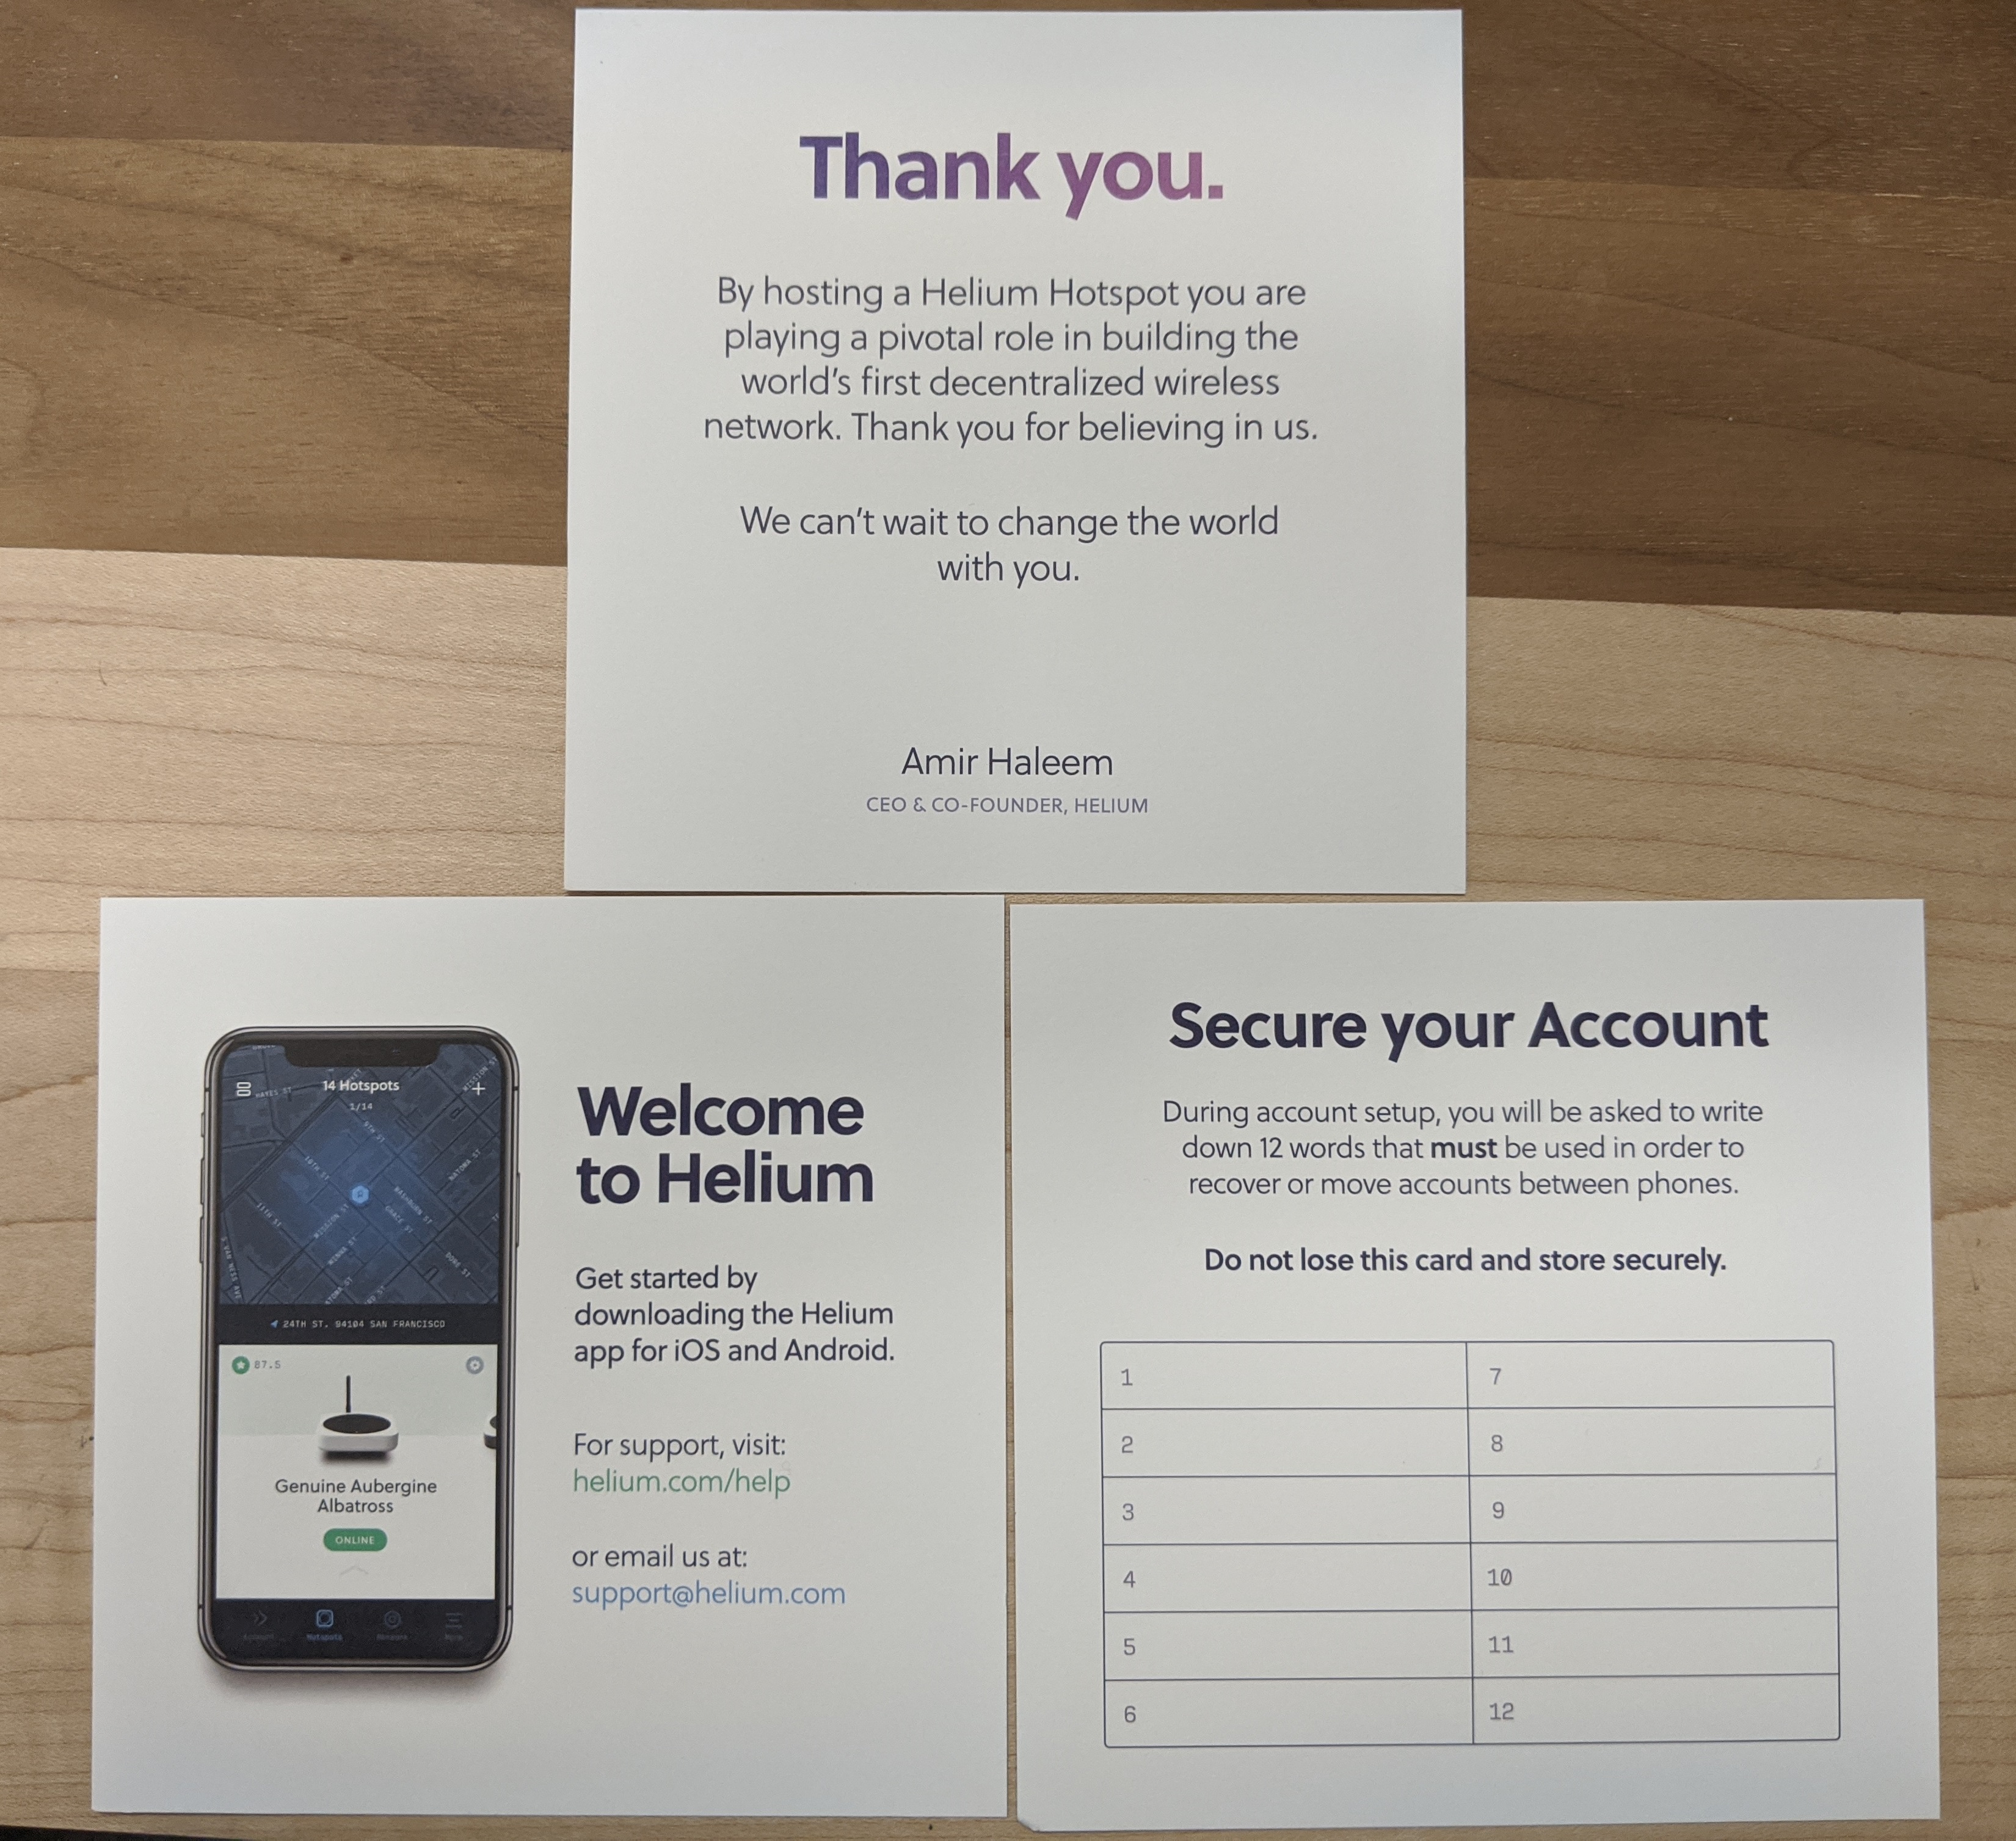
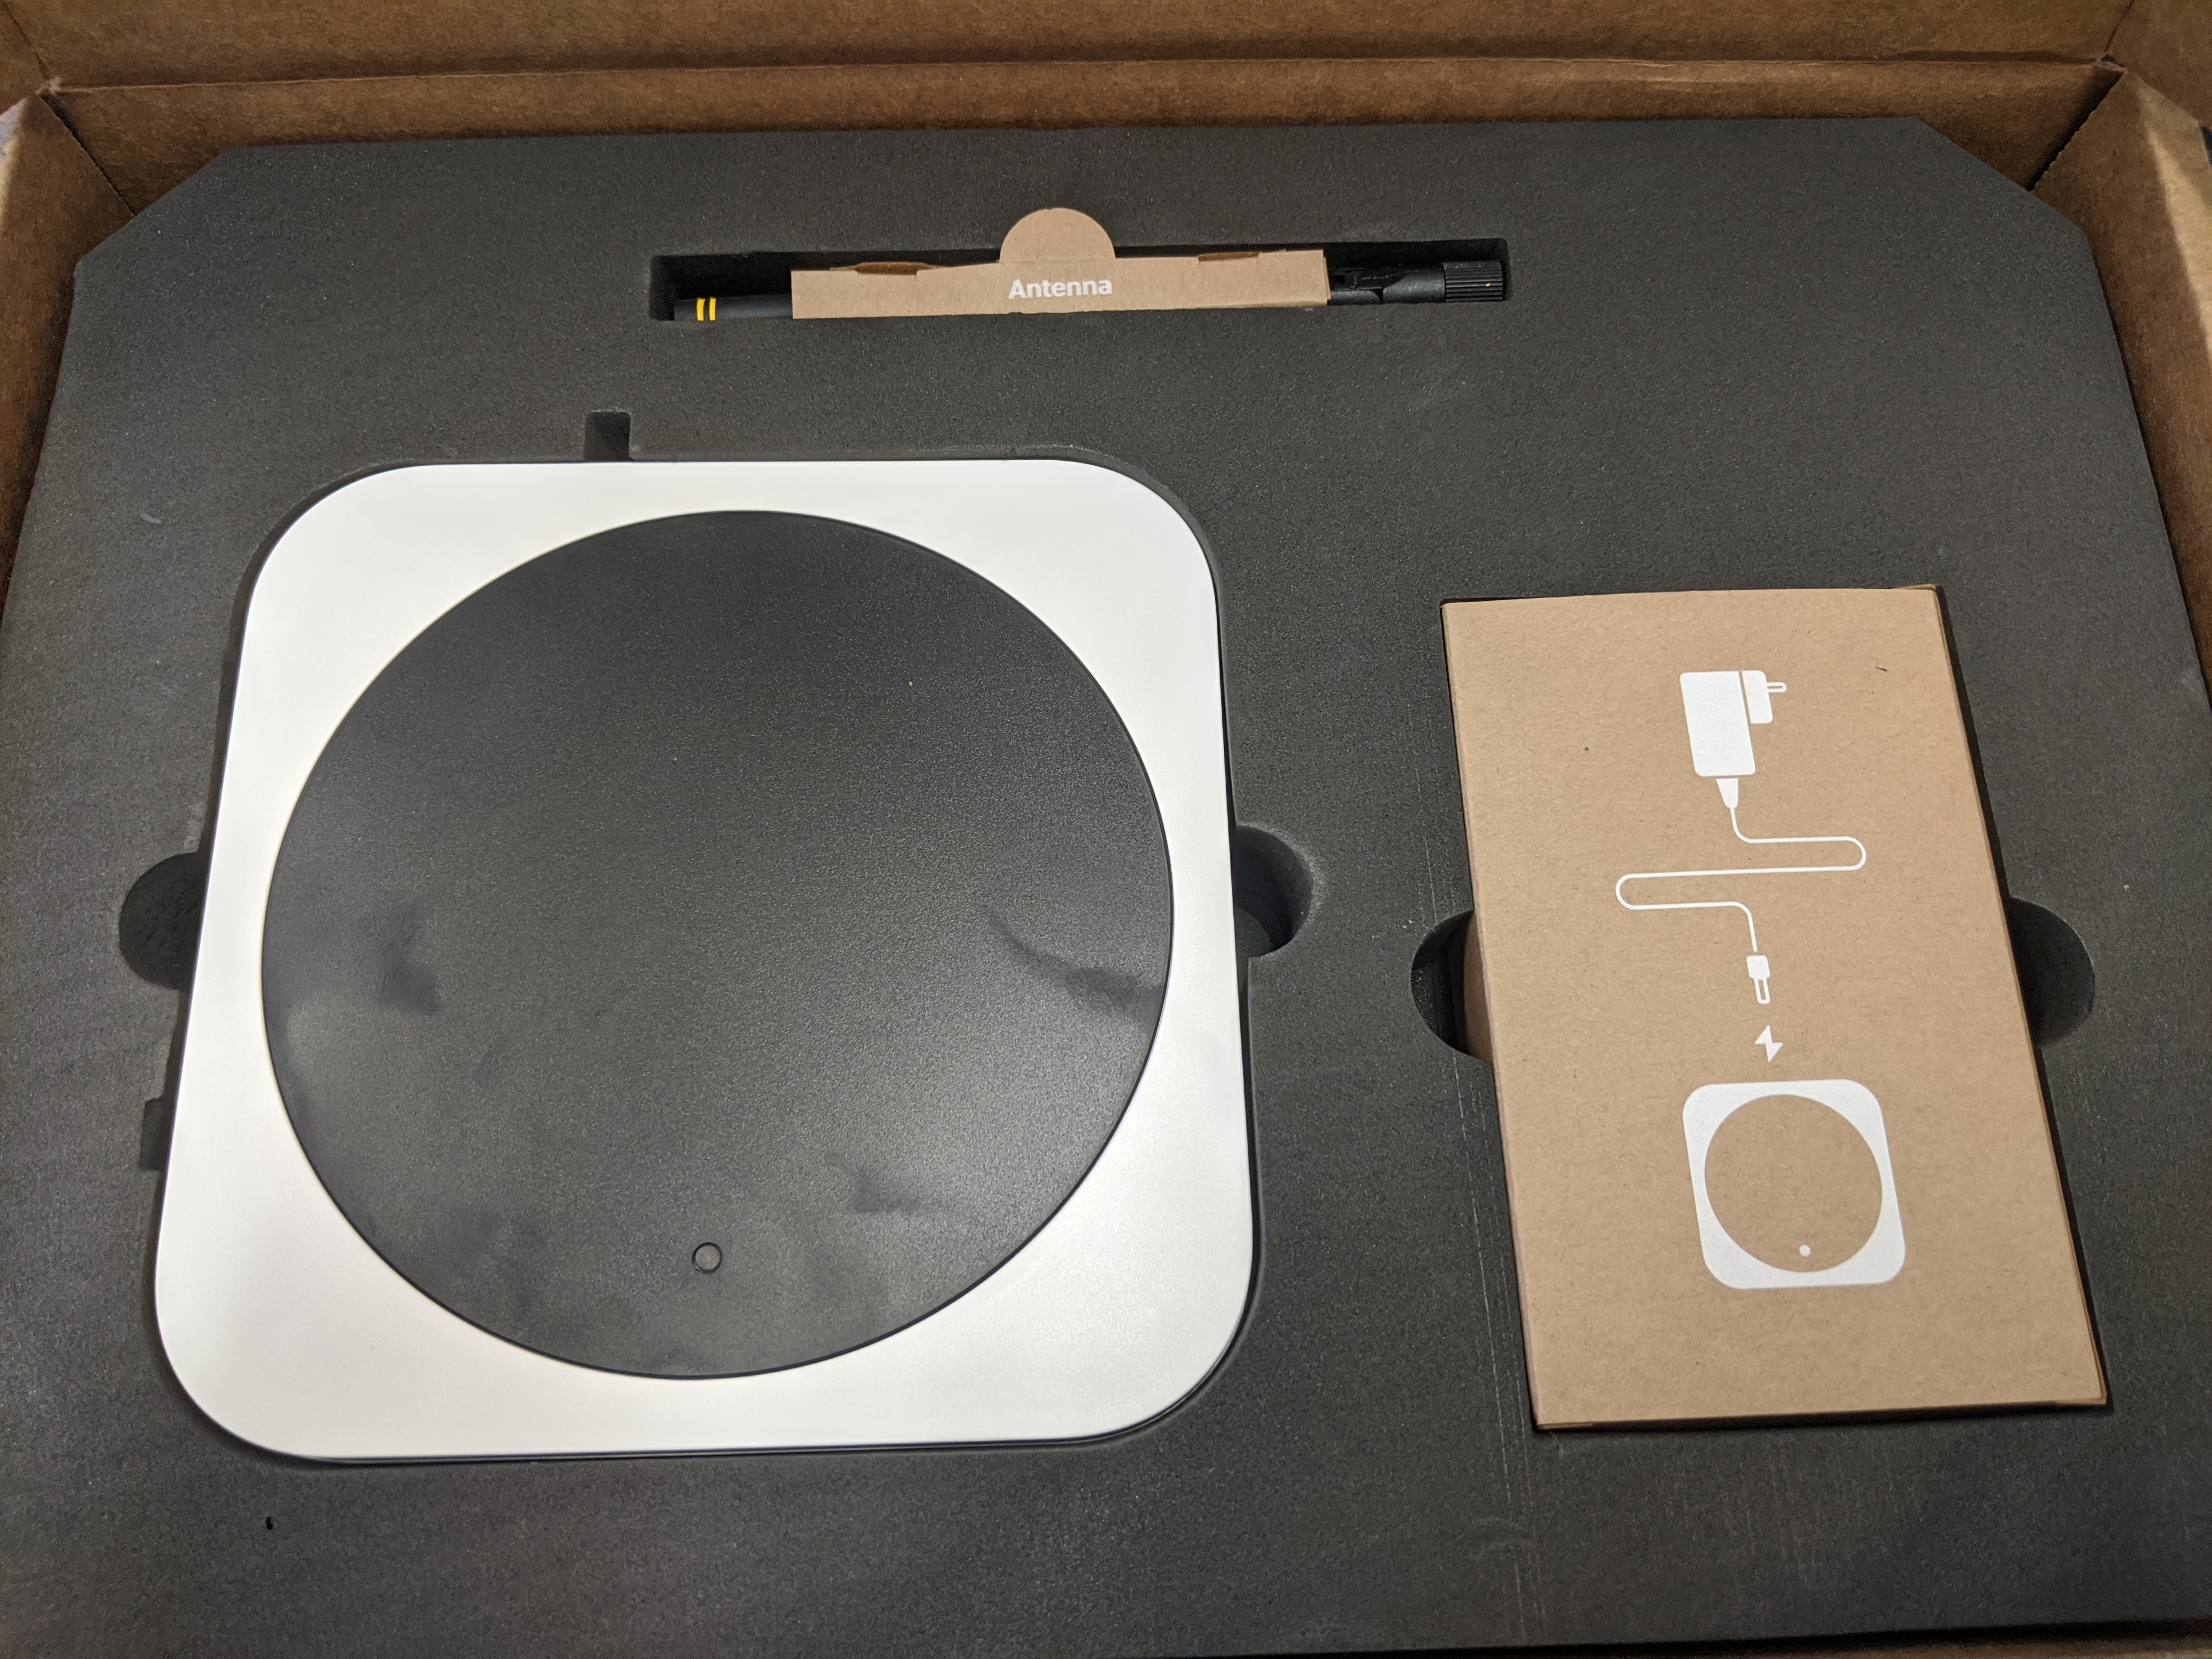
The packaging for the hotspot is well done. It has great branding on the box it shipped in. Inside you are greeted with a tidy setup which includes a spot for each part. The "Hello" envelope includes 3 cards giving you all the information you need to get started on setting it up.
The Device:
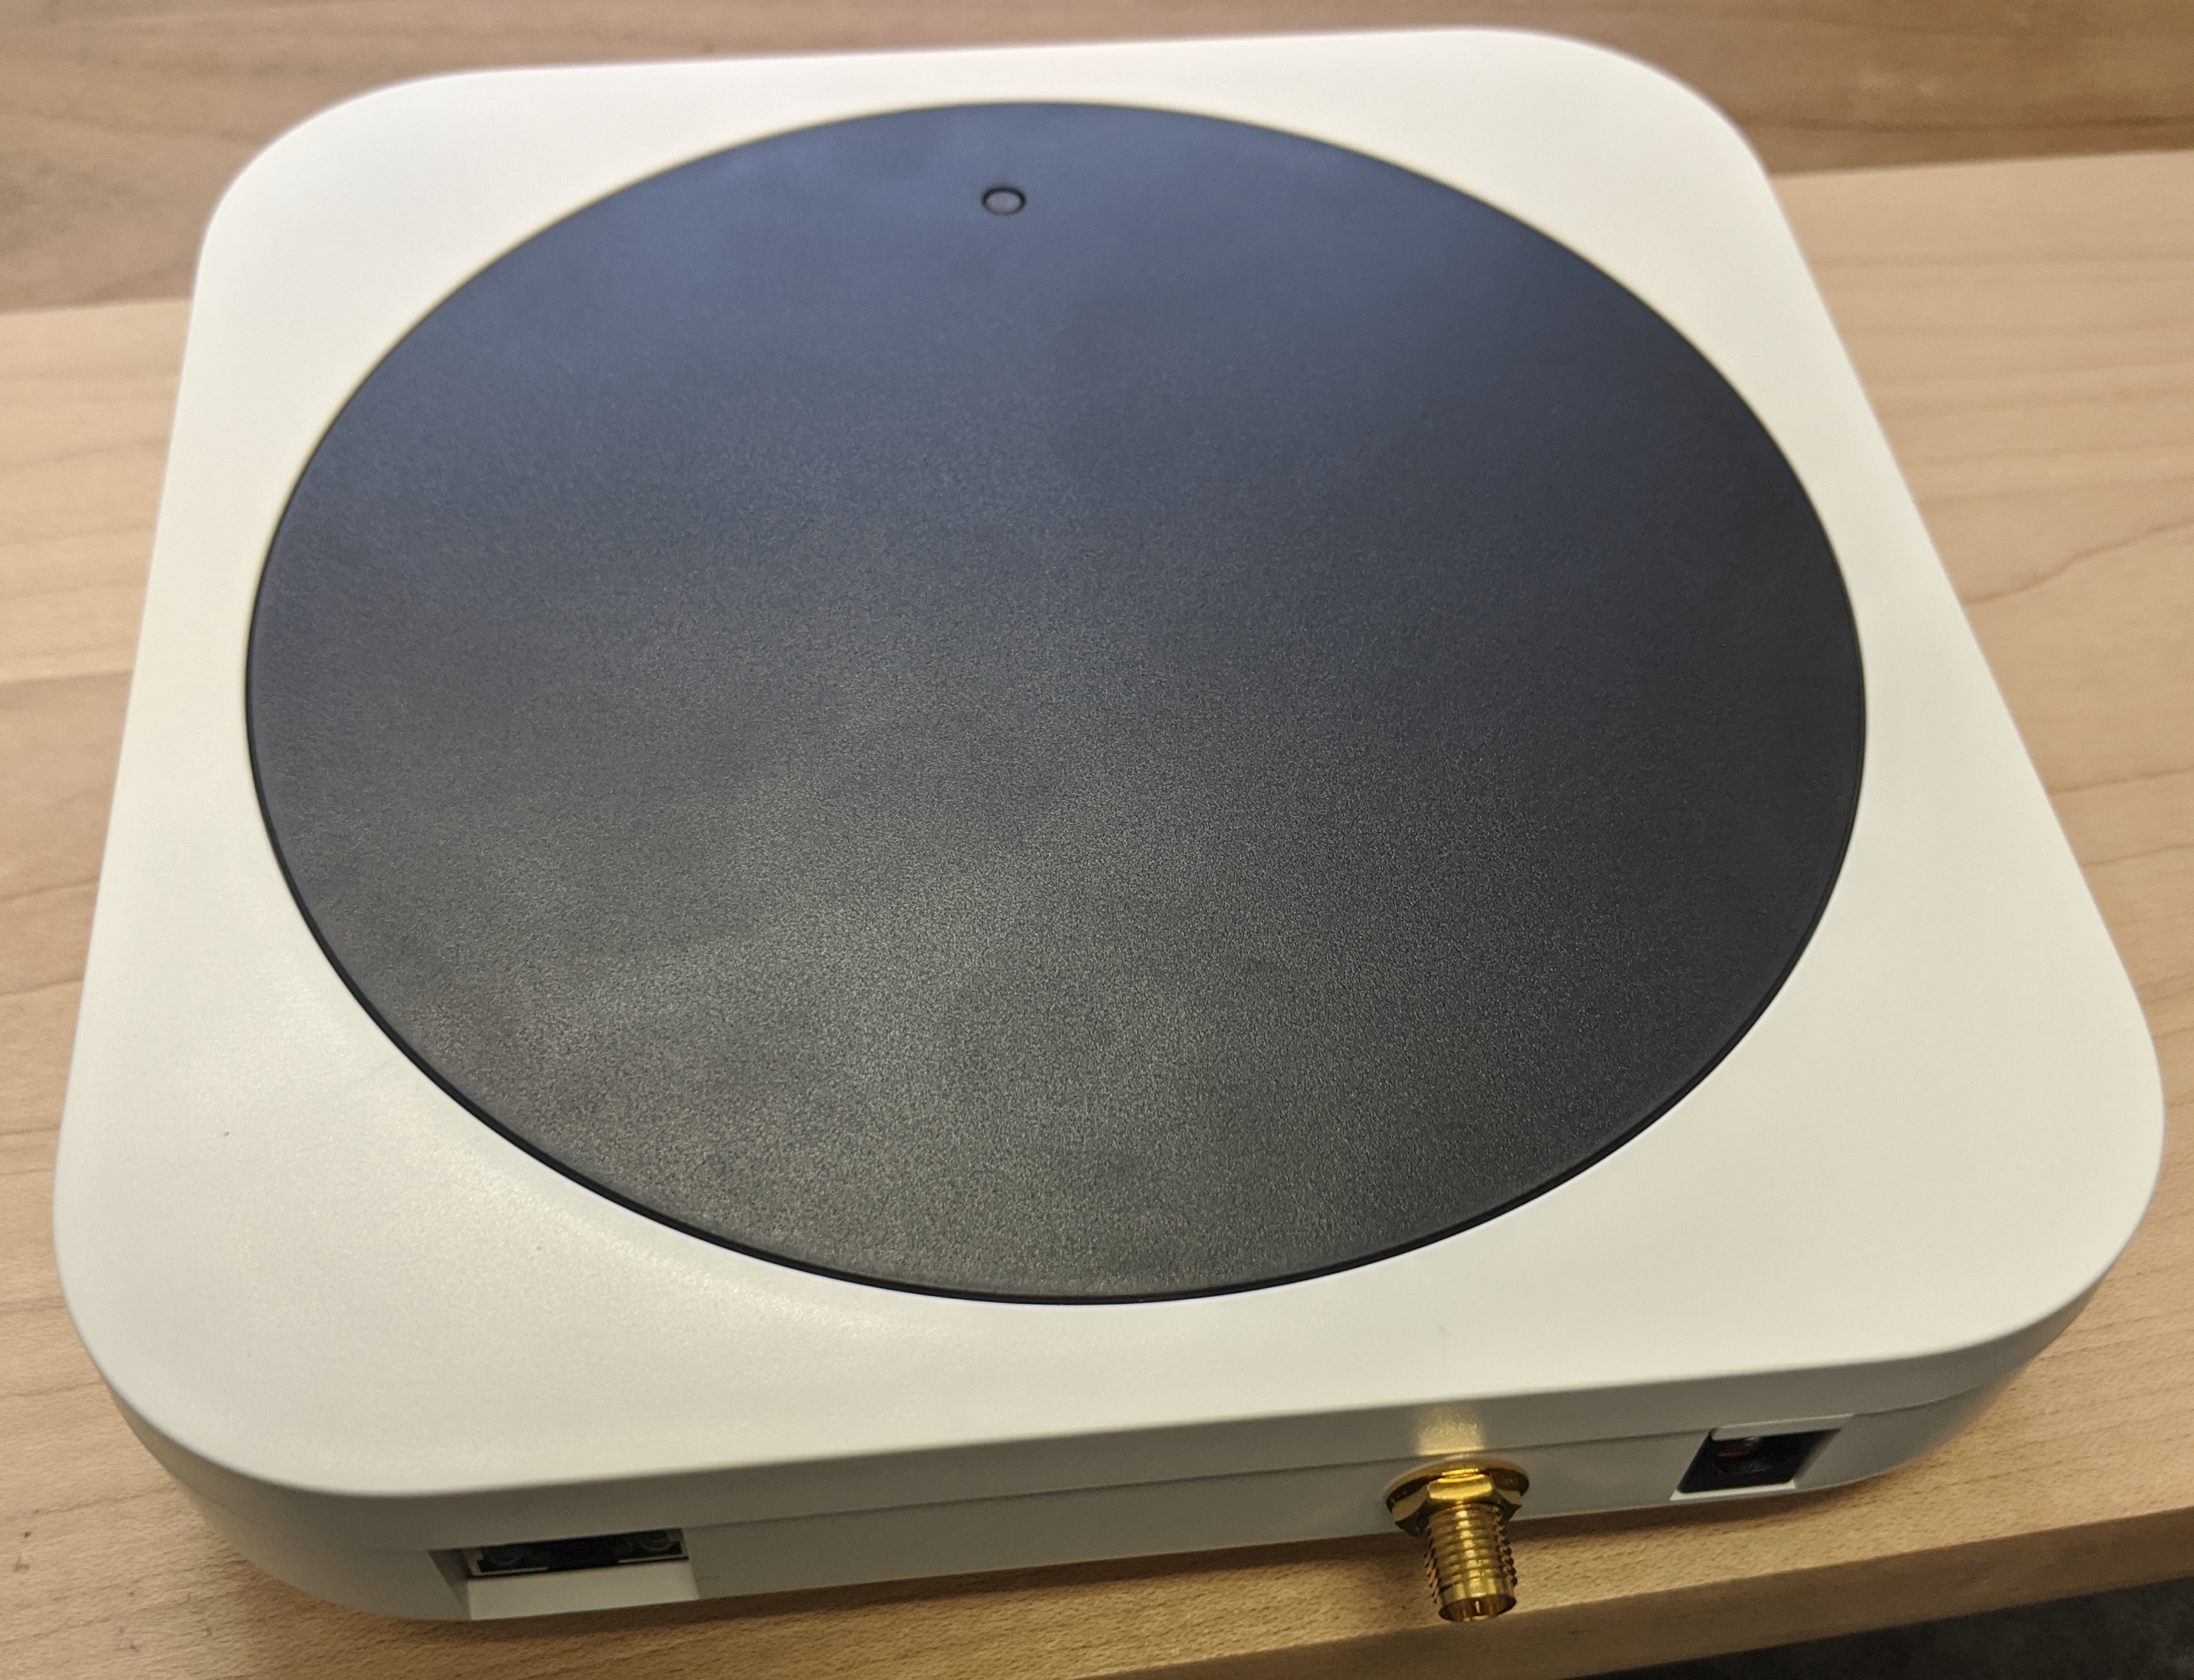
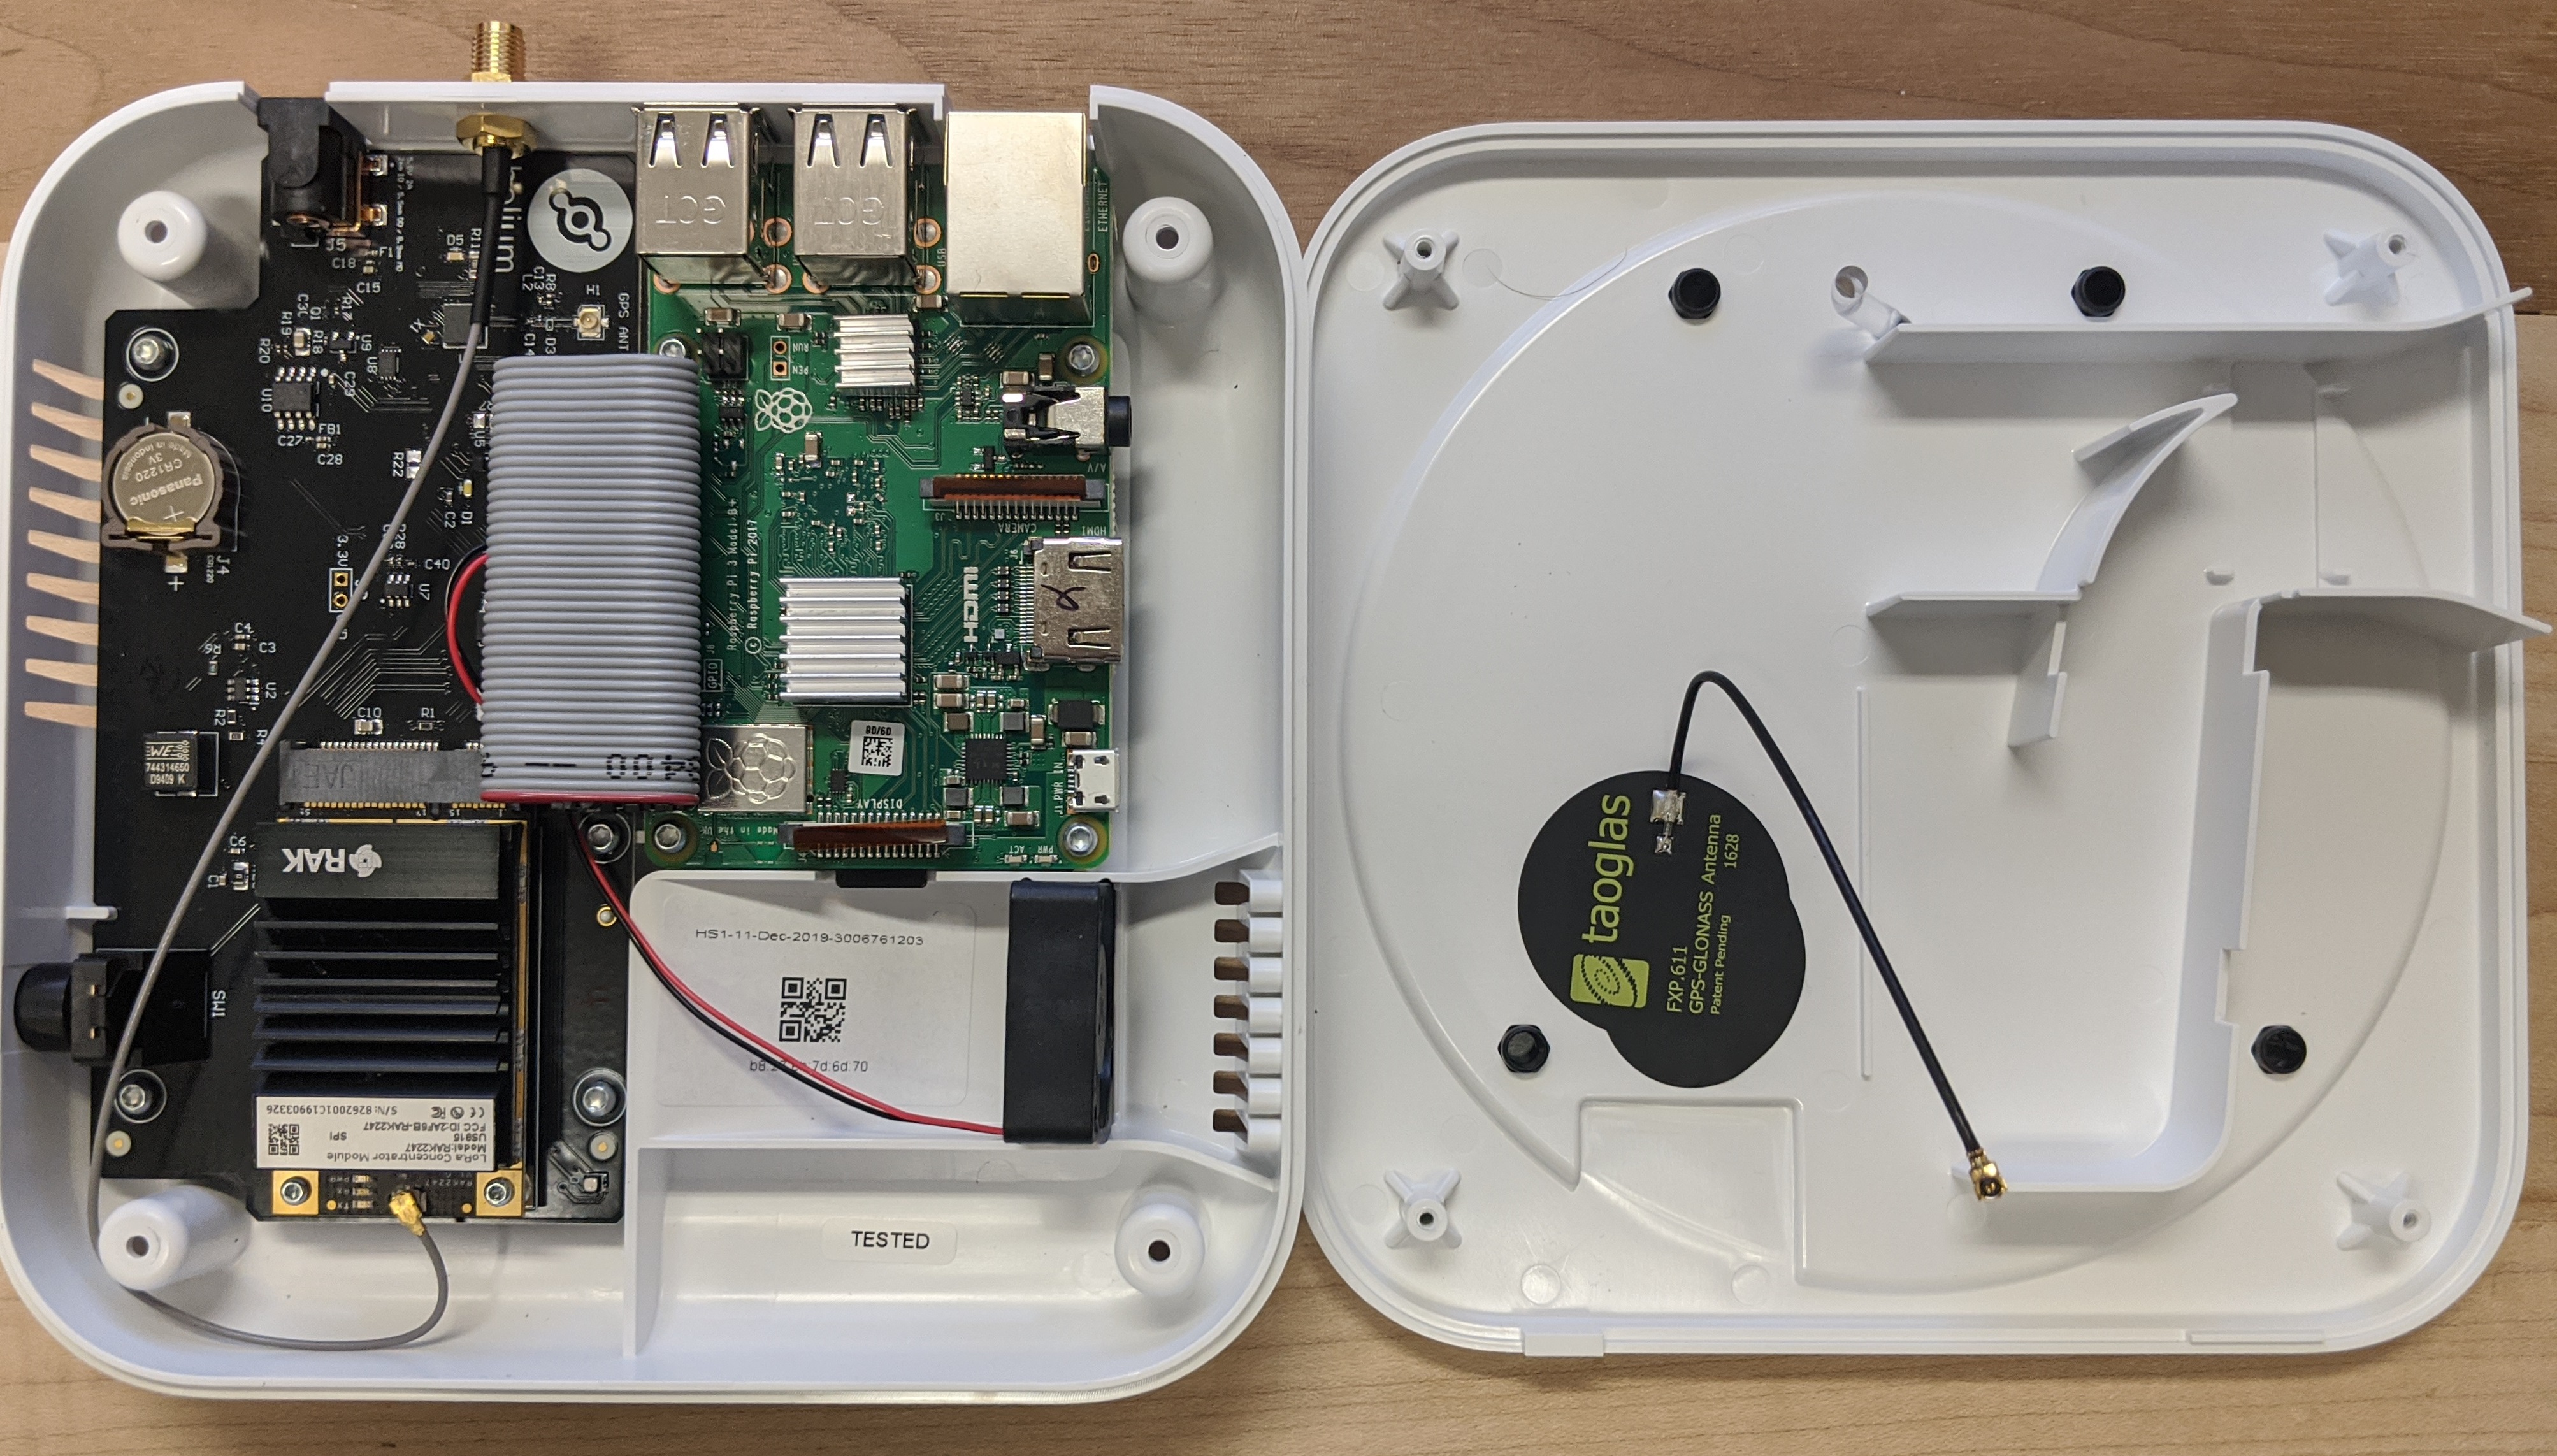
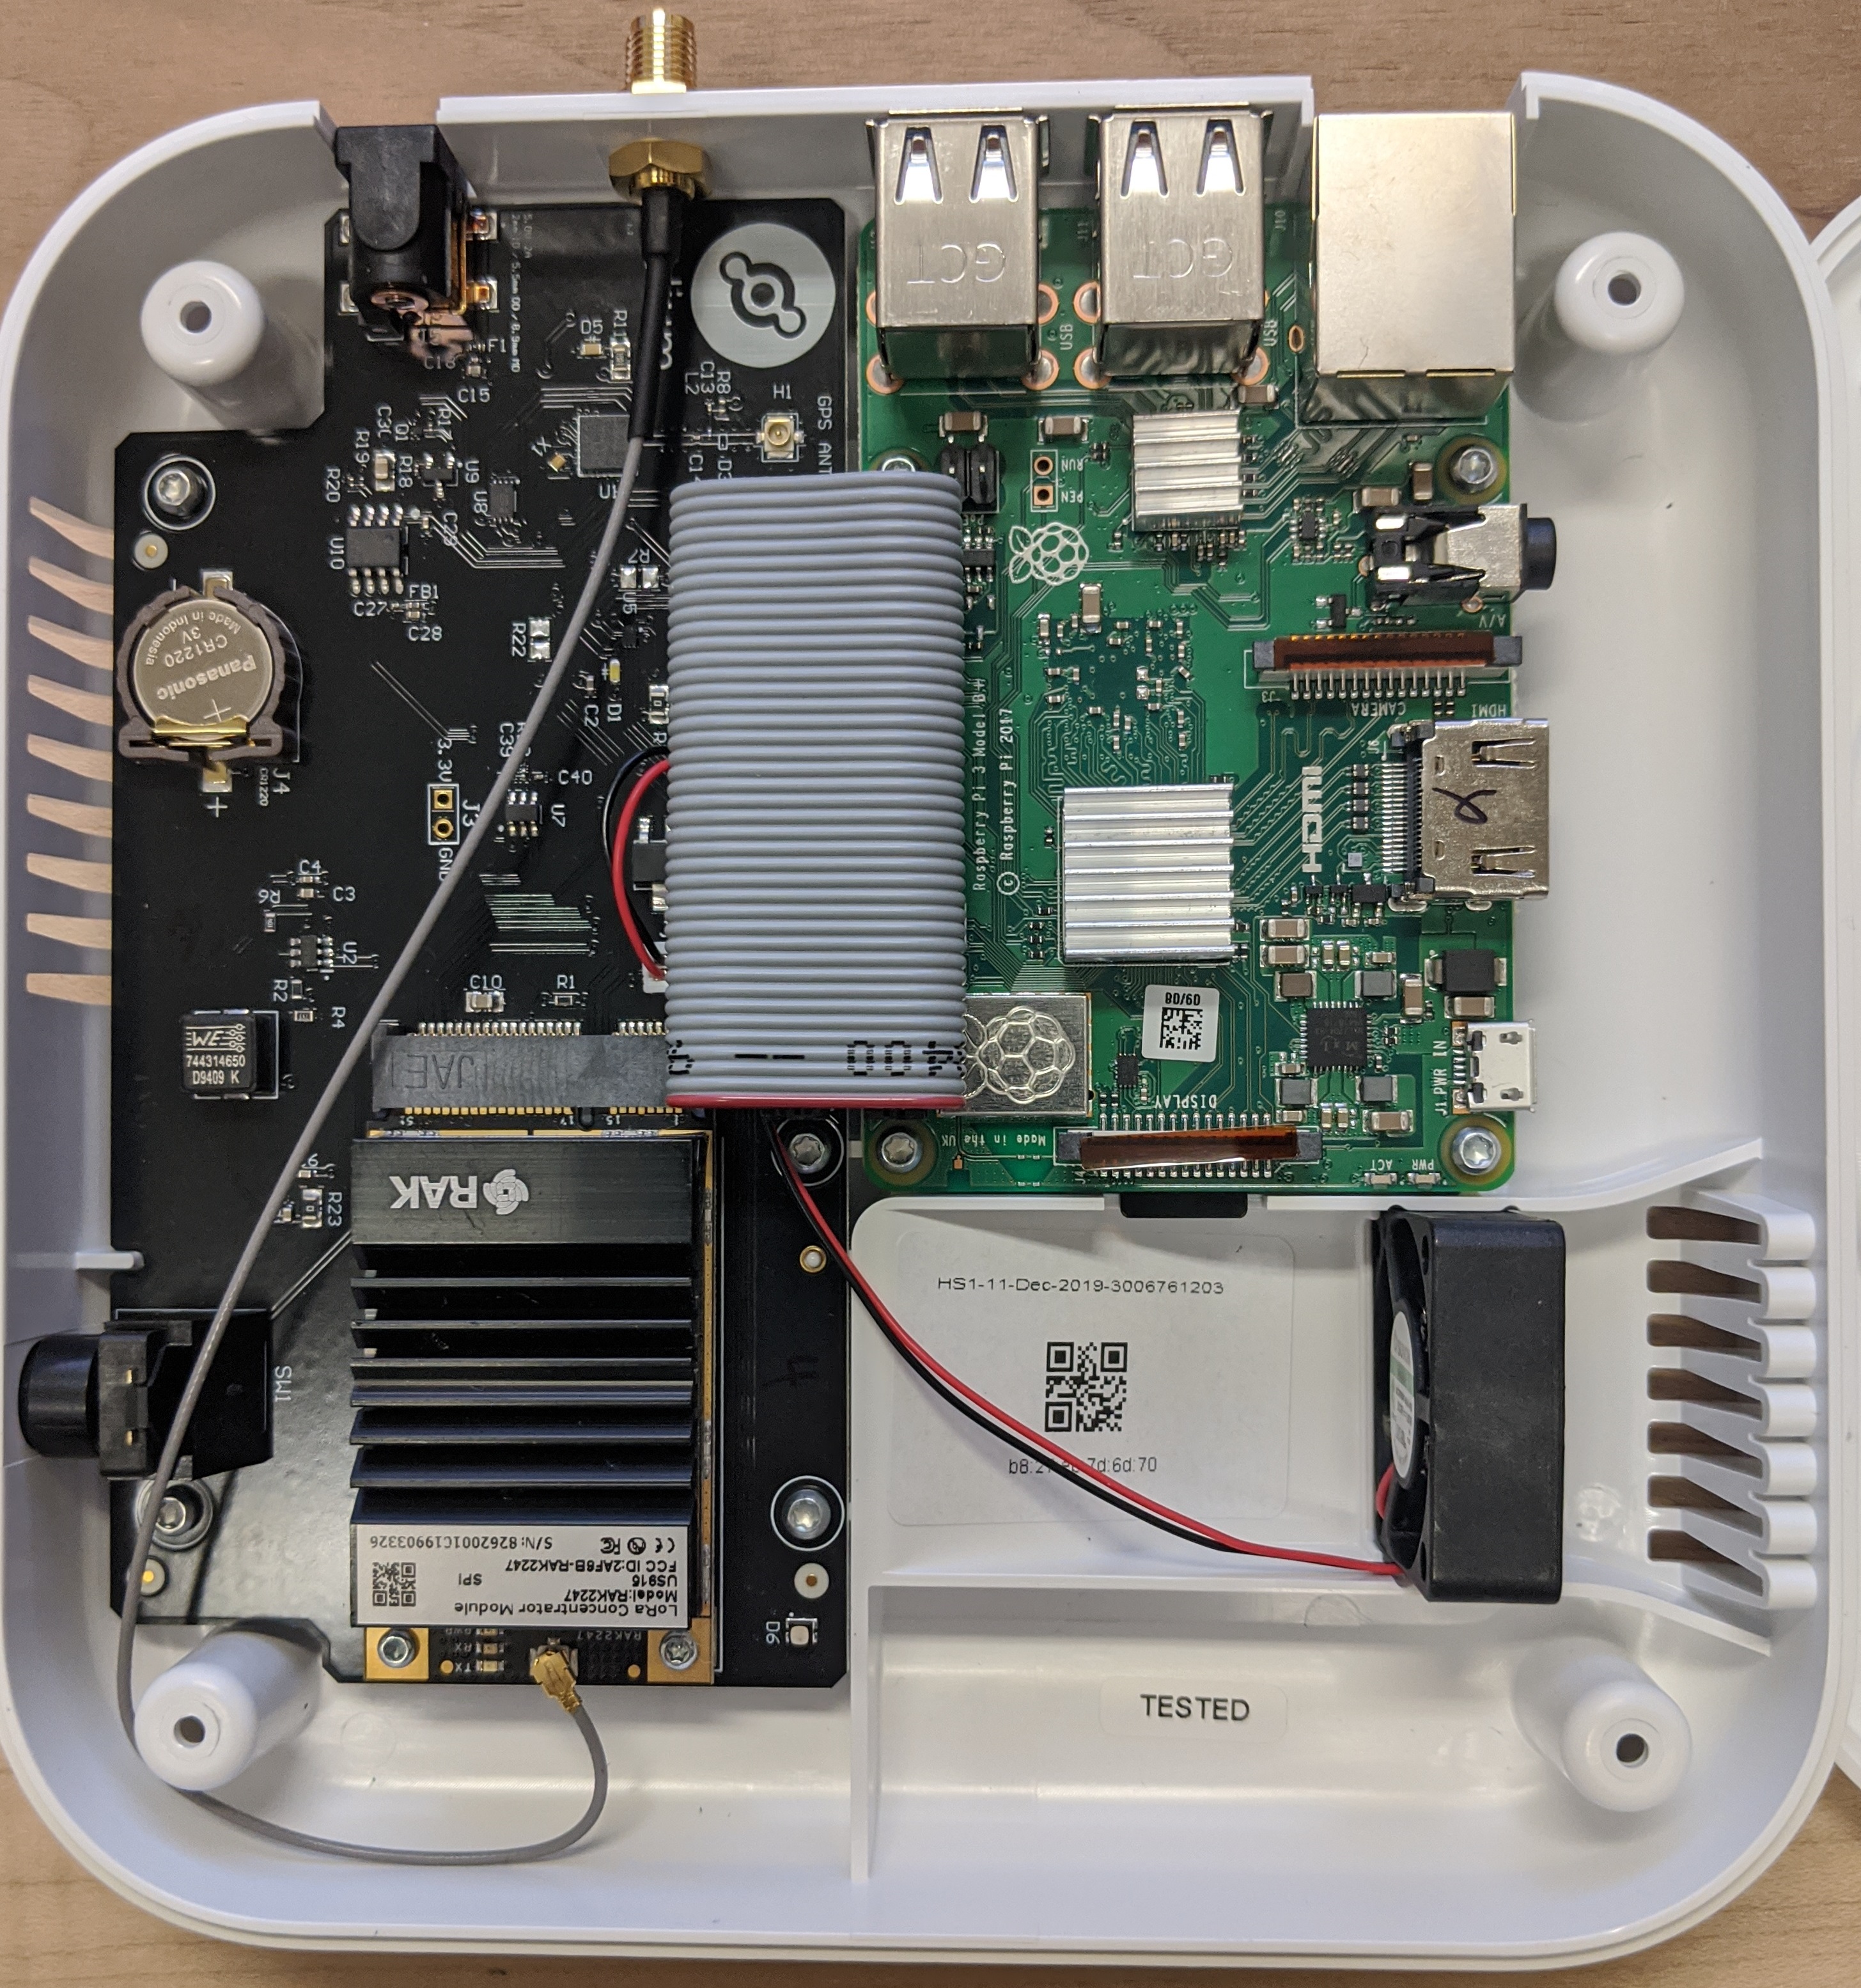
The Hotspot itself is solid and well constructed. The casing plastic is stronger than most home WiFi routers. Inside you can see that the hotspot is powered by a Raspberry Pi 3b+ and a custom board. There are 2 antennas on the device. The external antenna is for the 900 Mhz network and the one built into the case is for WiFi, you are not limited to using a physical ethernet connection only.
Setup:
The setup was fairly easy to complete though I did have some hiccups along the way. You will need either the iPhone or the Android app to complete setup, these also double as the $hnt token wallet. There is also a command line only wallet for PC but it won't help you setup the device. Your phone will need Bluetooth to be active because the device setup is carried out over Bluetooth. This is helpful when your hotspot is on a separate network from your other devices like mine is.
- Plug in and power on the device.
- The light will start up as yellow.
- It will then turn to a yellowish green which the instructions call green but is a different color green from the other color green it turns. (I got confused)
- Once it is yellowish green, there is a black button on the side to hit that puts it in Bluetooth sync mode.
- The app will be walking you through these steps and once the light is blue you advance to find and sync your unit. It took me 3 tries before the app tried to scan for Bluetooth connections and sync. (YMMV)
- If the device does not connect via Bluetooth and the lights turns from blue to more green (see below) then close the app and restart the device to get back to Bluetooth sync mode.
- Once connected (the light turns more green), you can then select to use either WiFi or Ethernet to connect to your network.
- You will also set the address for your device for its physical location.
- Apparently there is a $10 fee to put a hotspot on the network and a $40 fee to prove your location. These are waived though for your first setup.
- Once that is done, there will be some test transactions performed with your wallet to verify.
- At this point you may need to setup either DMZ or port forwarding if the device cannot connect to the internet.


Currently, $hnt tokens can only be procured through having a hotspot over other-counter-purchases from token holders. Hopefully this techonology catches on. Being able to remove IoT devices off of the 2.4Ghz network should be an overall plus for our increasingly wireless world.